How to check the pt100 sensor
When using a thermostat, have you ever encountered situations where the display instrument shows extremely high or low temperatures, the temperature is close to the actual value, or the temperature fluctuates? The main reason might still be due to the sensor
Check if there is a broken wire or loose connection inside the sensor
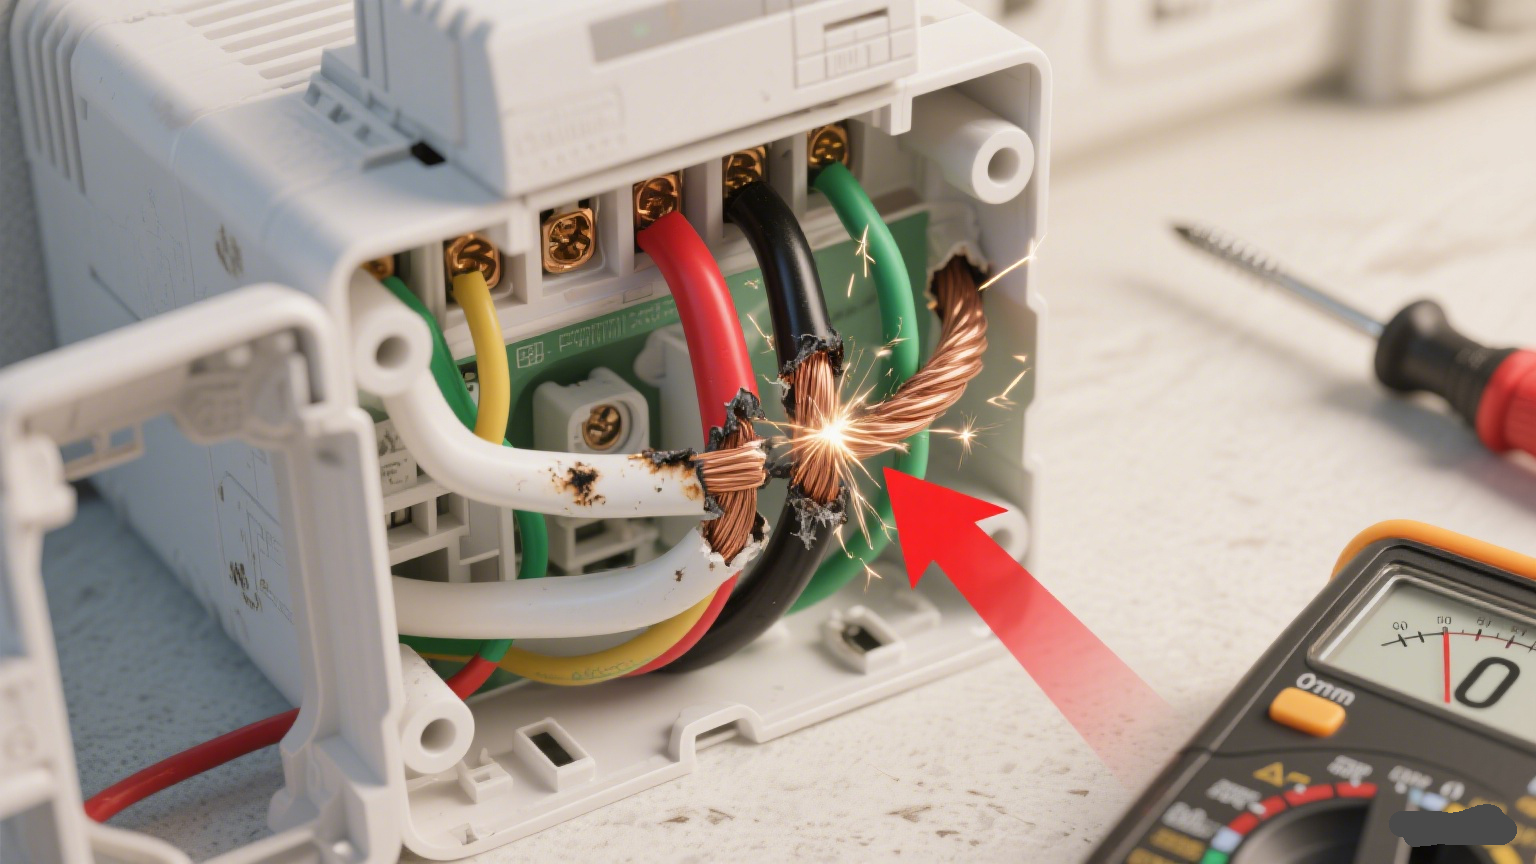
Sensor short circuit
The sensor has a very thick oxide layer. Due to long-term use, it has aged and accumulated a large amount of dirt and dust
The probe is not in close contact with the object being measured

1.Next, let's take a look at how to check for sensor issues - whether the appearance is damaged, the resistance value is correct, and the wiring is correct
1.First, prepare the tools. Before the inspection, be sure to pay attention to safety
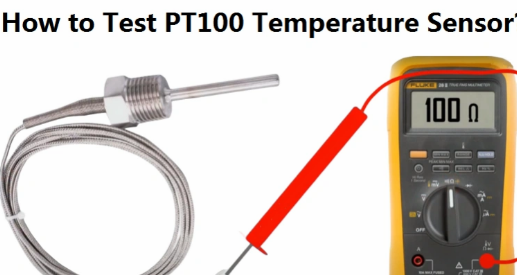
Multimeter: Mainly used to measure resistance, with the range set to Ω or kΩ
2. Hot air gun/constant temperature box: Is the temperature accurate at different temperatures?
3. Wire stripper/screwdriver: Mainly used for tightening and stripping wires at terminal blocks
4. Insulating tape: Connect it after testing to prevent short circuits
5. Cut off the power before testing. Safety comes first
6. The temperature of the newly removed sensor is usually quite high. It is recommended to wait until the temperature drops before measuring. Be careful not to put it directly into cold water (thermal expansion and contraction).
7. Don't scratch the probe with sharp objects
2. When inspecting the pt100 sensor, first look at its appearance
1. Check the probe housing: Whether there are any signs of cracking, bending or rusting, as this directly affects the accuracy of the sensor's temperature measurement
2. Check the wires and wire terminals: Whether there are any signs of damage to the wire insulation, whether the terminal connections are tightened, and whether there are any signs of oxidation at the terminal connection ends. All these can lead to inaccurate temperature measurement
3. Installation: Whether the equipment installation is carried out in accordance with the standards, whether the fixation meets the standards, and whether the object to be measured is closely attached to the main body
If it's the same, it's obvious that there's a big problem with the appearance. Just replace the damaged part directly
3. Next comes the measurement of the resistance value of the resistor

1. First, remove the wires and place them separately
2. Adjust the multimeter: Set the multimeter to the "Ω range", and touch the black and red test leads together. If it shows "0.00Ω" or is close to 0, there is no problem. If it shows several ohms, the watch might be out of power. Replace the battery and test
3. Measuring the sensor: Connect one wire to each of the red and black pens for measurement. If there are three or more wires, choose the positive and negative signal ones for measurement. Generally, there are labels on the wires. As long as the resistance value is around 110Ω, there is no problem. Be sure not to connect the wrong power cord
Next, compare the results
It is normal for the result to be between 108 and 112Ω at room temperature
If there is a significant difference of 80 to 130 Ohms, it might still be aging. The sensor needs to be replaced.
3. If there is no value showing 0Ω, it is basically still a short circuit in the circuit

4. Check the circuit to see if it is an external problem
1. Without connecting the sensor, measure the resistance directly at the terminal. It is generally 110Ω. If it exceeds this value, it indicates that there is a large oxide layer at the terminal or the wire is too long. Replace the wire with a thicker one
2. Short circuit situation: The most direct method is to use a multimeter, connecting one end of the pen to the sensor and the other end to the ground wire, and observe whether the pen makes a sound. If it makes a sound, it indicates a short circuit.
For 5.3 to 4 sensor wires, do not mix them with the power supply; otherwise, the test will be inaccurate
When using pt100 sensors on large industrial equipment, it is best to measure and calibrate them at regular intervals
If the sensor is used in a relatively high-temperature area, it is recommended to use an IP68 one, as it offers better protection
- What is the dead zone of tempperaaature controller?
- Choose temperature controller. "Fit" is better than "appropriate"!


