

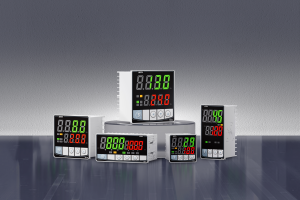


how to connect thermocouple to temperature controller
The commonly used temperature control instruments are usually connected to a universal input wire, which is a thermocouple. The thermocouples of sinny are generally TC, and there are many types, including threaded thermocouples, probe thermocouples, pressure spring thermocouples, and adjustable wire thermocouples. The size and length can be selected
1. What are their respective advantages:

Threaded thermocouple: Generally, the installation is very firm. The threaded wire is closely connected to the equipment, and the heat conduction is very direct. It is very suitable for those pipe types, equipment cavities and some closed containers.
Probe-type thermocouple: Its characteristics are small size, probe structure, and the ability to be inserted into the interior of the measured medium. It is suitable for those narrow Spaces, such as some fluids, the interiors of solids, and some small equipment
Pressure spring thermocouple: It comes with a built-in spring structure, which can continuously press the measuring end tightly against the surface to be measured without permanent fixation. It is flexible to install and disassemble, suitable for moving parts and frequent disassembly and assembly scenarios. It is not suitable for equipment that requires drilling for installation
Adjustable wire thermocouple: The metal wire can be manually bent and its shape adjusted. It is lightweight and can adapt to complex and irregular surfaces under test. It is suitable for irregular-shaped components, narrow gaps, and flexible demand scenarios.
2. When connecting the temperature sensor to the PID Temperature Controller
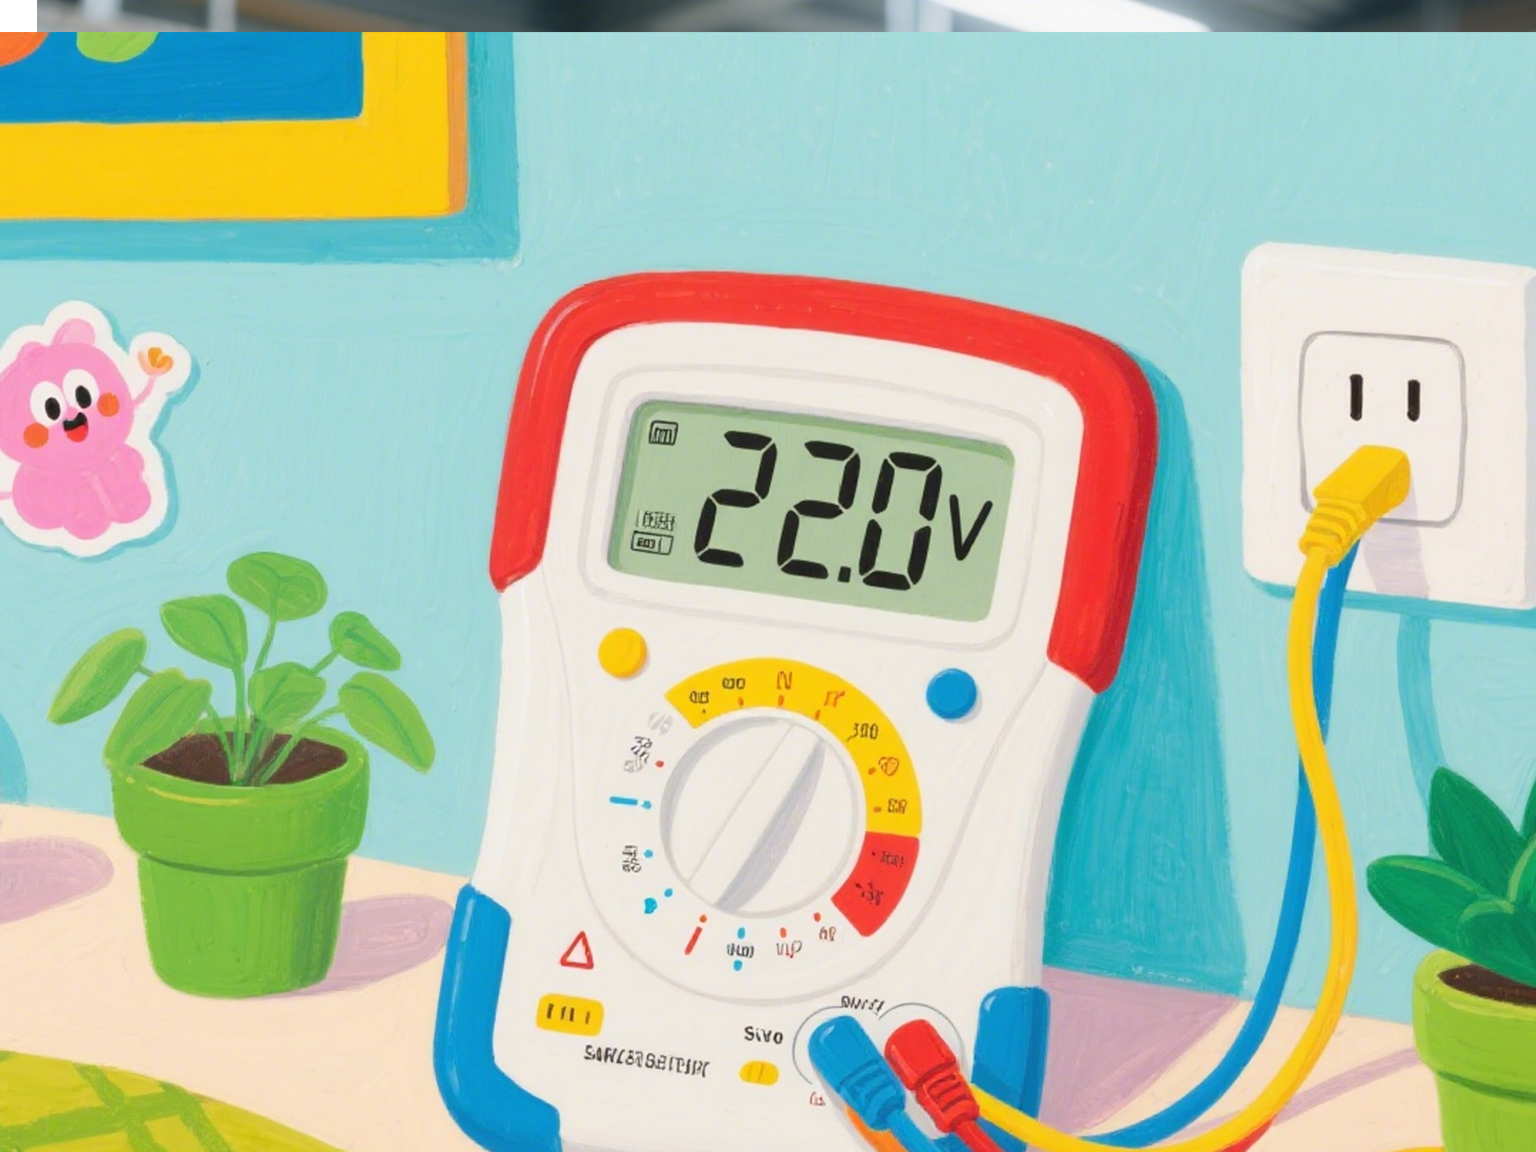
commonly used current and voltage are generally considered. There is a pid controller for heating element inside, suitable for Heating and colling functions. The current and voltage in our household are generally between 0.5A and 1A. The voltage is generally 220 volts AC , and there are also specified rated power current voltages. There is also an industrial-grade current voltage, which is divided into high voltage and low voltage. Generally, low voltage is the main type, with high safety. The lowest voltage can reach 380v, which is much higher than the household voltage of 220v. When 380v is used, it is basically in large equipment----heating element temperature controller
Current (I) = Power (P) ÷ (Voltage (U) × Power factor)
It is necessary to have a thermostat that is suitable for the corresponding scene
3.TC thermocouple(AC Temp controller )
TC thermocouples are generally two-wire. Our sinny thermocouples are also two-wire, and its principle is still the same
"Temperature difference power generation" - Two wires do not require external power supply and directly transmit thermoelectric potential signals, which is very convenient. Of course, if you are going to choose an RTD(thermal resistor), it is recommended to select a multi-wire thermal resistor. The more wires there are, the smaller the precision difference will be, and the temperature recognition and control will be particularly accurate. You can choose the corresponding RTD according to your specific needs
 When we have chosen a thermocouple, what issues should we pay attention to during the process?
Wiring logic: Select the temperature control instrument based on the thermocouple. How to connect the wires to the temperature control instrument
First, confirm the calibration of the thermocouple: K E J T SR, confirm whether the temperature controller supports this thermocouple, confirm the temperature control range of the instrument, select the appropriate thermocouple, confirm whether the product is of relay output or SSR output type, and ensure that it matches the back-end actuator
Distinguish between positive and negative poles: The terminal blocks of temperature control instruments are generally marked with "TC+" (positive pole) and "TC-" (negative pole). Connect them strictly according to the corresponding marks. Connecting them in reverse will cause abnormal temperature display, resulting in inaccurate readings and no reference value
When we are ready to connect the thermocouple, remove the insulation layer of the thermocouple and connect the corresponding equipment. Generally, the top needle and thread are 5-8mm thick, which complies with international standards
Finally, there is the power supply AC220V and the control output cable
If you want to switch between relay and SSR output, you can: Press the main up and down keys for 3 seconds. At this point, the temperature control meter will perform the output switching function. Both the relay output display and the SSR output display are clear at a glance. After confirmation, it will return to the working parameter table. At this time, the control output has been successfully switched - decide on the output type and input thermocouple type according to your own needs If you want to switch the input side: Hold down the S key for 3 seconds, and the pv screen will display P-1. Press the up key, and the pv screen will display P-2. Then click the S key to enter the parameter group 2 menu. At this time, the pv screen will display IPN, which is used to operate the change of input regulation. At this time, the SV screen will display the current input specification. Continuously tap and move up 8 times until pt is displayed on the SV screen. Then hold down the S key for 3 seconds. At this time, it will save the parameters and return to the working mode. This is the input and output control method of the sinny temperature controller.
 4.
4.
Power connection
Everything is ready. At this point, turn on the power and observe whether there is any flickering problem with the instrument. If there is a problem, verify the correctness of the wiring
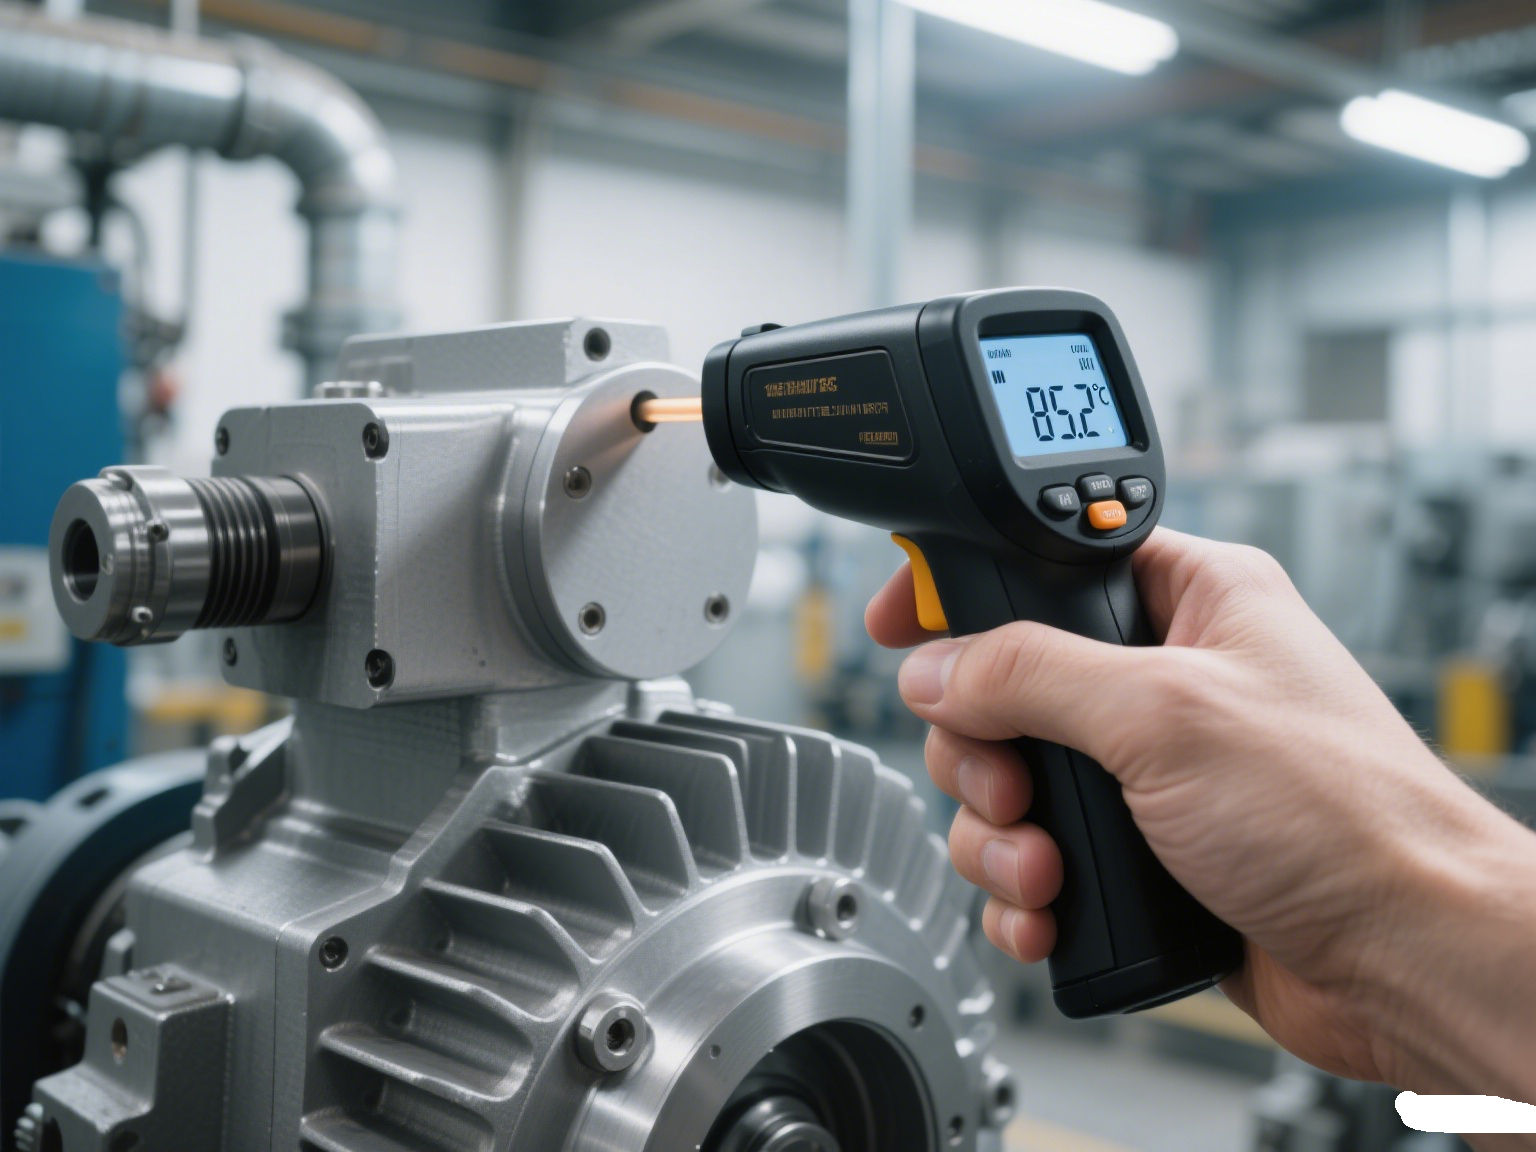
If there are no issues, adjust the parameters and wait for it to control the temperature for a period of time until it reaches the desired temperature. At this point, the value displayed by the instrument should be consistent with your target value. Then, directly align the temperature gauge with the temperature of the equipment to measure it, and observe whether the temperature on the temperature control gauge matches. If it doesn't match, check the line and adjust the parameters of the temperature controller appropriately
Here's a note: All main temperature controllers have certain deviations. We usually judge the data by the accuracy of the temperature controller