

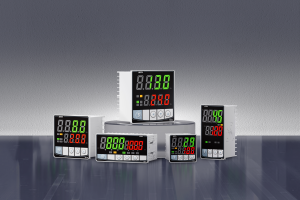


How to use a temperature controller
working principle of a temperature controller: temperature perception → signal comparison → control execution, which is a "loop" process of the power supply
1.When using the temperature controller
everyone must safely connect the power supply and the temperature sensor before powering it on. Before connection, the power must be cut off. Never connect it while it is still on. Then, set the PV and SV parameter values of the temperature control instrument according to the desired temperature, and adjust the parameter values to achieve accurate pid temperature control
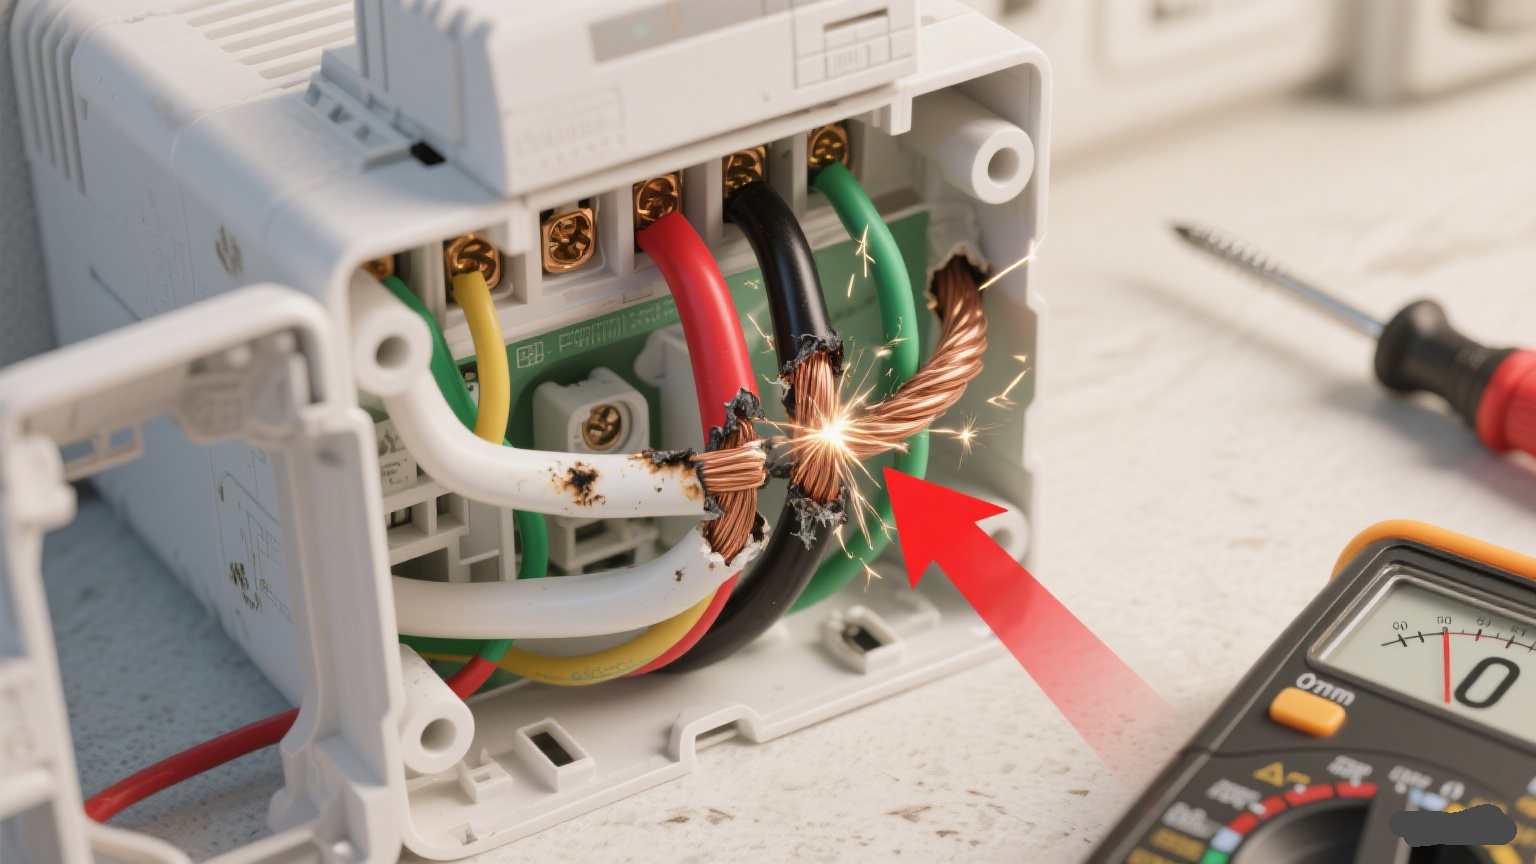
2. Wiring logic
Connect the temperature sensor or thermocouple to the corresponding sensor terminal of the controller. Be careful not to make a mistake in the connection; otherwise, the value displayed on the instrument will not be correct. Sometimes, a short circuit due to incorrect connection can damage the temperature control instrument
Note: Regarding the wiring of the core terminals, the live wire and neutral wire are generally connected to the power terminal end. When connecting the temperature sensor, it is usually connected to the positive and negative poles of the sensor. The sensor wires need to correspond to the positive and negative poles of the terminal to ensure correct signal transmission. The load control terminal is generally the alarm port, OUT1 and OUT2. Connect the live wire to them, and directly connect the neutral wire to the power supply for parallel logic. If the screen flickers when the power is connected, please turn off the power immediately to recover the loss.
3. Debugging logic
Once we have completed the wiring, we need to debug it to observe whether the desired effect has been achieved. So, how do we adjust SV and PV?

Take our sinny Temperature Controller as an example: SV is the limit value, and PV is the temperature adjustment value, commonly known as the upper limit value and lower limit value. Press and hold the S key for 3 seconds, and the screen will display P-1. Then click the up key to display P-2. Click the s key to enter the parameter menu, and then click the S key three more times to enter the lower limit value adjustment of SV. Generally, the default lower limit value of SV is -30 degrees. We can adjust the value of SV by using the up and down keys and the left and right keys. Then, click the S key once. The PV screen will display SLH. At this time, the upper limit value of SV is 1300℃. Adjust it to the upper and lower limits you want by using the up and down keys and the left and right keys. Hold down the S key for 3 seconds, save the parameters and return to the working mode. Our sinny thermostats are of high quality, easy to operate, highly accurate, have a wide controllable range, and our PID algorithm is far ahead of others
Here, the PID algorithm control can accurately and quickly complete this process
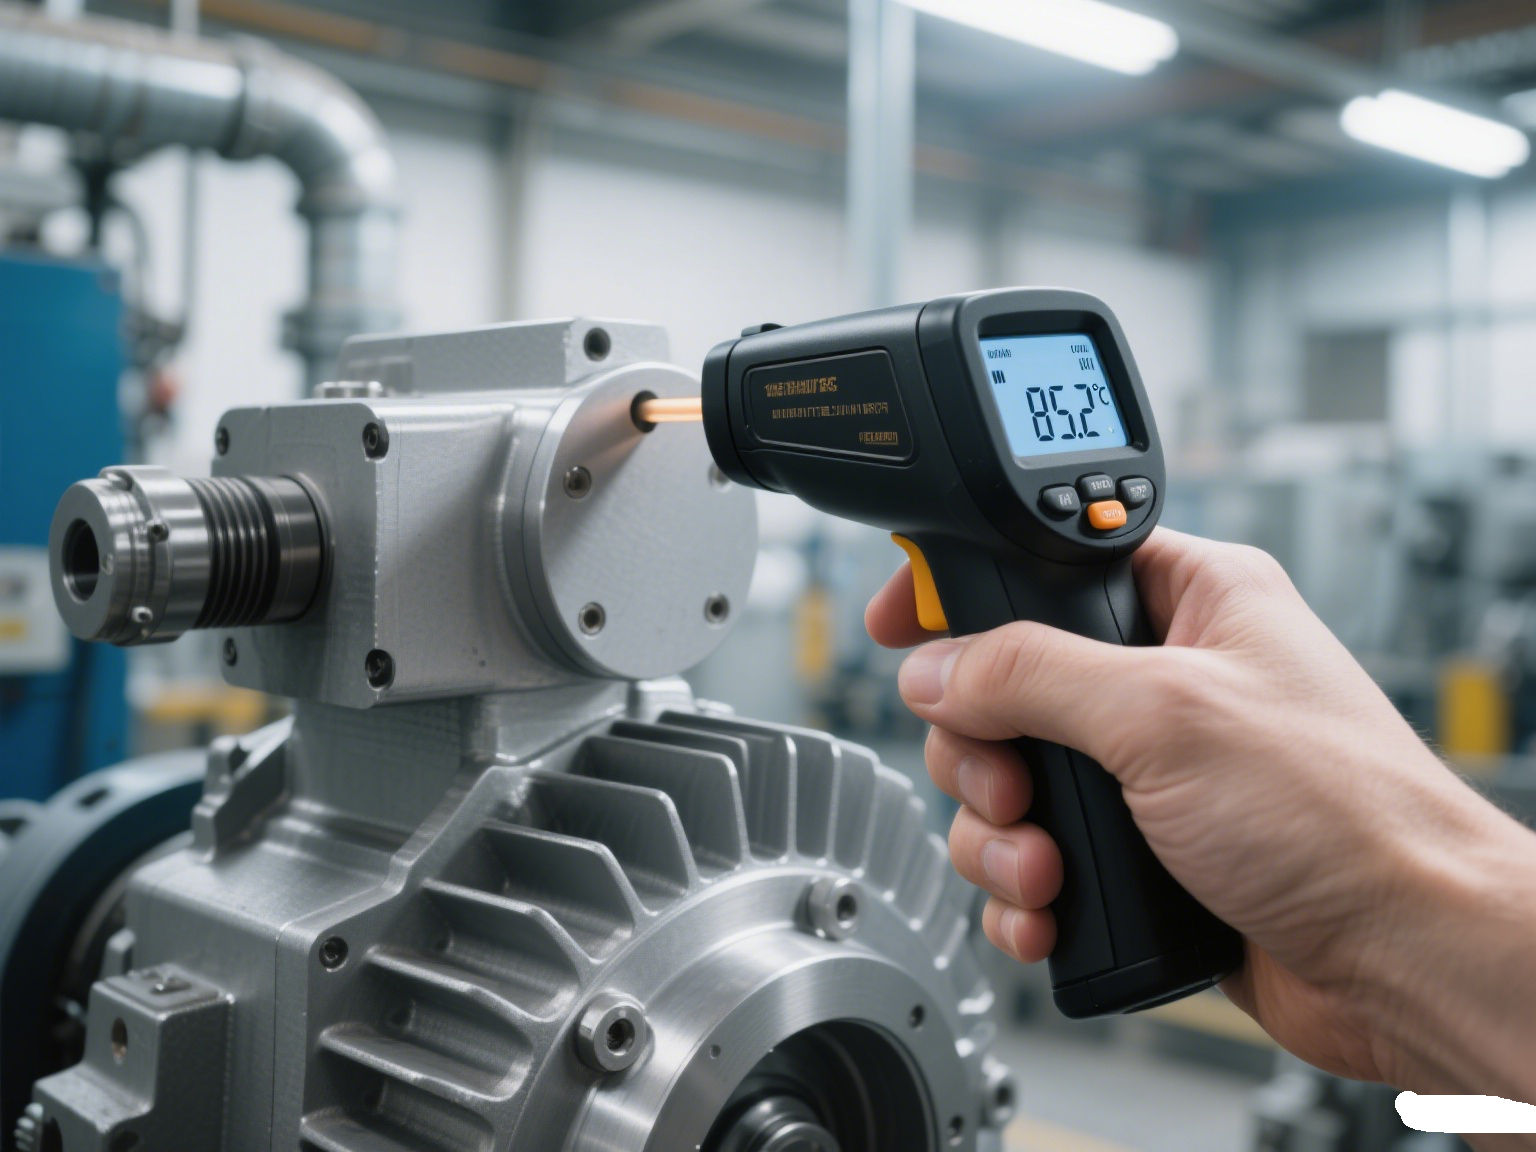
4. Test
When we have adjusted all the parameters of the temperature controller and it is already in use, after it has been working for a period of time, we need to test whether the temperature adjustment is accurate. Here, we can first feel the temperature during the temperature control period with our hands to see if it is worth measuring. Generally, when we approach the outer shell of the temperature controller, we can feel a temperature difference. At this point, we can purchase a thermometer gun and point it at the device to check if the temperature is consistent with the PV SV value on the thermostat. Of course, all thermostats have a certain temperature difference, that is, the accuracy range, which is quite normal. At this point, the measured values are used for comparison and judgment. If the values are correct, the parameters remain unchanged; if they are incorrect, the debugging method mentioned above should be followed for adjustment-----Temperature measurement