How to operate temperature controller
For those using a temperature controller, we must turn on the power switch to connect the power supply. Then, according to the required temperature control of the equipment, fine-tune it through the PID or OFF switch to achieve the desired temperature. Gradually set the buttons on the temperature control instrument to fine-tune it through the PID or OFF switch to achieve the desired effect, and then gradually stabilize it.
1. After turning on the power, set the temperature on the instrument to the target temperature (power-on)

Understand how PID control and on-OFF control switch and what their benefits are
Firstly, ON a temperature control instrument, only one control mode can be selected, either PID or ON/OFF.
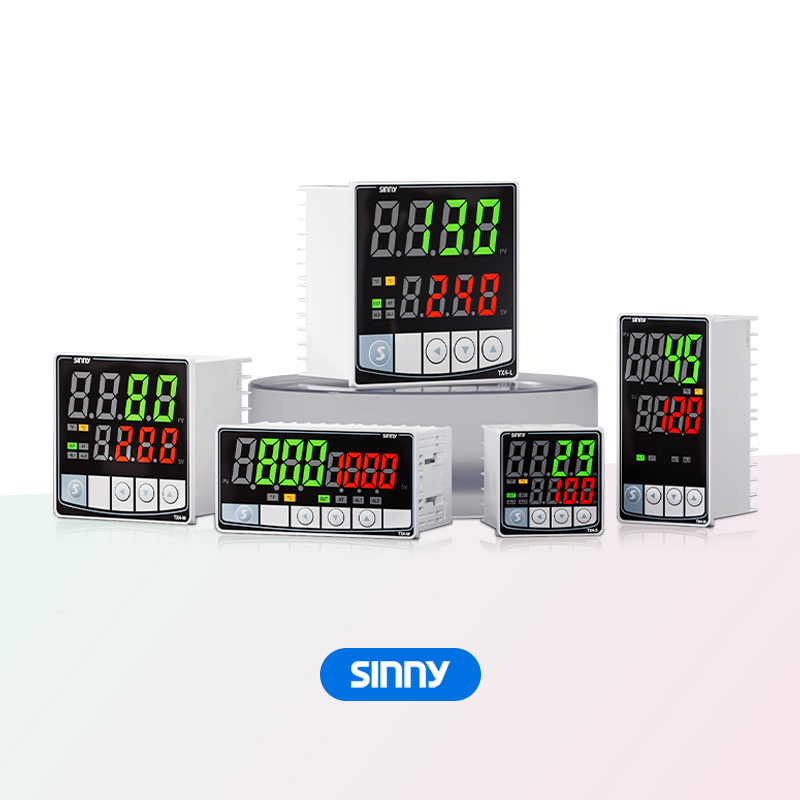
Take our sinny Temperature Controller as an example:
When we hold down the S key for 3 seconds, the pv screen will display P-1. Then we click the up key once, and the pv screen will show p-2. Then click the S key again to enter the parameter group 2 menu. At this point, we must tap the S key 6 times until the PV screen shows P1D. This operation is used for switching between PID and ON/OFF. The screen shows which control mode is ON or OFF. If you want to switch back to the ON/OFF key, first press the offline key. The SV screen will then display "OFF". Press the S key for 3 seconds in the same way as the previous PID adjustment method, and it will save the parameters to the working mode. At this point, the screen will display "OFF" (this is the on-OFF switch).
Note:PID and on-OFF control mode. The PID control mode is more suitable for those with higher precision than the ON-OFF mode
2. Adjustment of control parameters
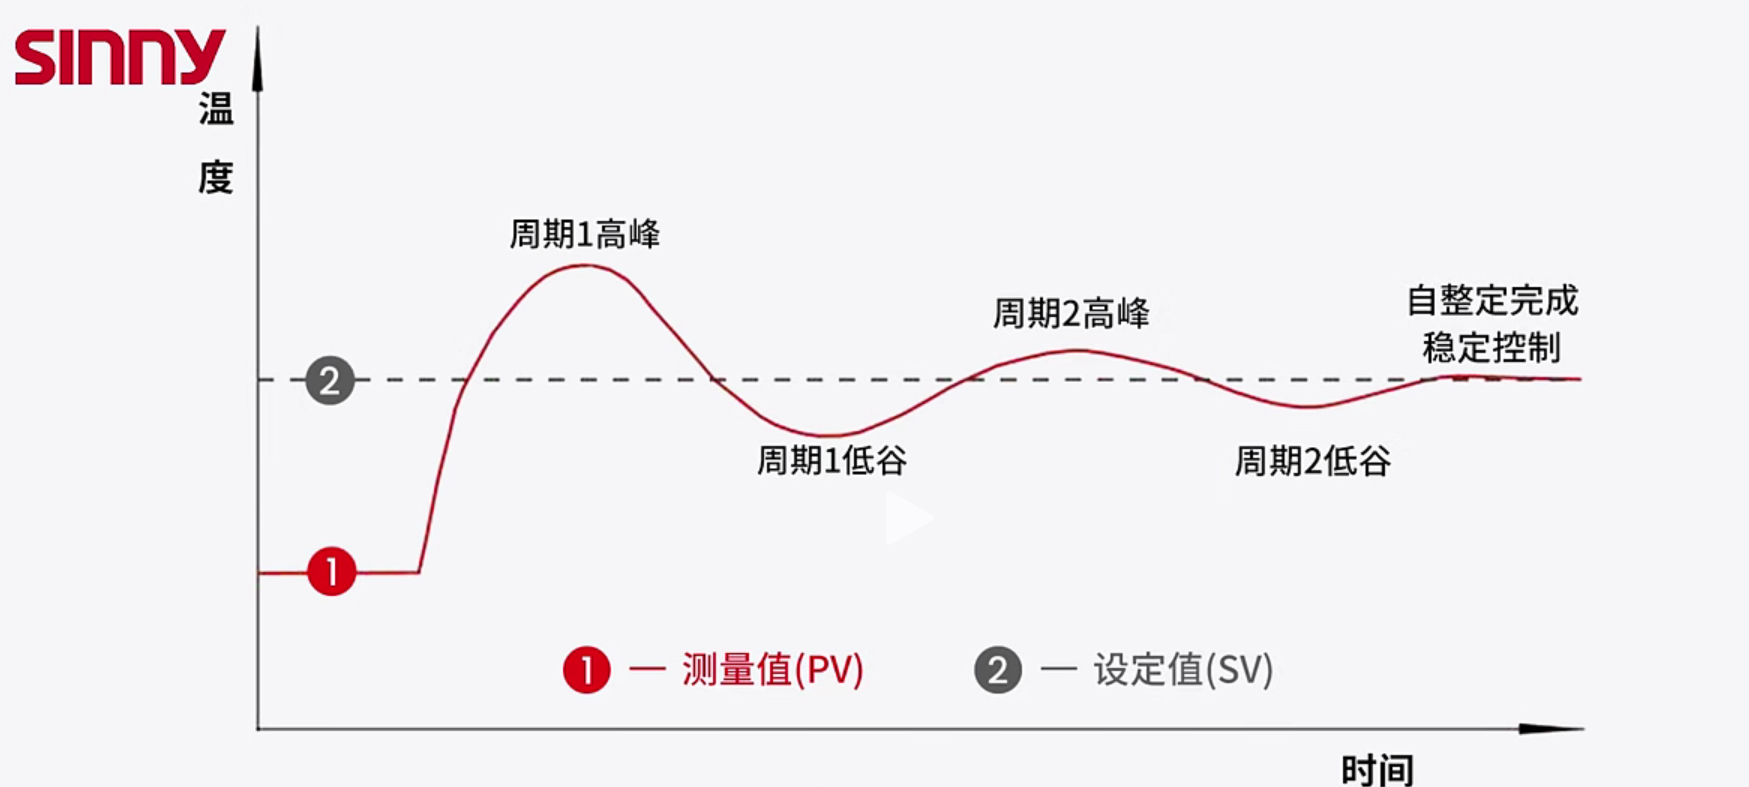
While using the temperature controller, we need to adjust some parameters. After powering on, we need to adjust the parameters to make the temperature controller reach the target temperature. If you want precise and high temperature and fast temperature regulation, you need to choose PID control
First of all, we need to limit the SV parameters on the instrument: keeping them within a reasonable range. The purpose is to prevent the temperature from exceeding the equipment's tolerance range and avoid product damage.
Firstly, all of our products are equipped with process configurations within the temperature control range, ensuring the stability and quality of the products and effectively preventing extreme human damage and "malicious damage".
Both SV and PV have upper and lower limit values, which depend on the configuration of our temperature sensor. Generally speaking, when your output specification is a thermocouple, the set value of SV should not exceed 600℃ and should not be lower than 100℃. When we hold down the S key for 3 seconds, the number p-1 will be displayed on the screen. Click the up key, and the number P-2 will be displayed on the screen. Click the S key once to enter the parameter group 2 menu, then click the S key three times. The PV screen will display SLL, which is the lower limit value of SV. At this time, it can be adjusted by pressing the up, down, and left keys. Then click the S key again, and the PV screen will display the SLH value, which is the upper limit value of SV. It can also be adjusted by pressing the up and down keys. Adjust it to the left mouse button, set it to the desired upper or lower values, and then hold down the S key for 3 seconds to save the parameters. To meet your requirements.
3. Testing and Monitoring
If the temperature control range is not the temperature we require, then we must check and adjust it. The logic for increasing the temperature should be consistent with the method mentioned above


